How to Take a Screenshot on a PC


Learn how to take a screenshot on a PC and share it effectively using HIVO. This step-by-step guide covers capturing full screen, active window, and custom area screenshots, uploading them to HIVO, and creating a shared link for easy sharing. Enhance your digital communication skills today.
How to Take a Screenshot on a PC and Upload it to HIVO
The ability to capture and share what's on your screen is an absolute necessity these days. Whether you're troubleshooting a problem, creating a tutorial, or sharing an interesting piece of information, screenshots are a quick and effective way to communicate. In this blog post, we'll guide you through the process of taking a screenshot on a PC, uploading it to HIVO, and creating a shared link.
How to Take a Screenshot on a PC
There are several ways to take a screenshot on a PC, depending on what you want to capture:
1. Full Screen
If you want to capture everything visible on your screen, follow these steps:
- Press the Print Screen (often labeled as PrtScn) key on your keyboard. This will capture the entire screen and copy it to your clipboard.
- Open an image editing tool like Microsoft Paint or Adobe Photoshop.
- Press Ctrl + V to paste the screenshot.
- Save the image to your preferred location.
2. Active Window
If you only want to capture the active window (the program currently in use), follow these steps:
- Click on the window you want to capture to make sure it's in focus.
- Press Alt + Print Screen on your keyboard. This will capture the active window and copy it to your clipboard.
- Follow steps 2-4 from the previous section to save your screenshot.
3. Custom Area
If you want to capture a specific area of your screen, you can use the Snipping Tool on Windows:
- Type "Snipping Tool" into the search bar and open the application.
- Click on "New" and select the type of snip you want to make (Free-form, Rectangular, Window, or Full-screen).
- Use your mouse to select the area you want to capture.
- Click on "File" and then "Save As" to save your screenshot.
How to Upload Your Screenshot to HIVO
Once you've taken your screenshot, you can easily upload it to HIVO. Here's how:
- Log in to your HIVO account.
- Navigate to the Library or a specific Collection where you want to upload your screenshot.
- Click on the 'Upload' cloud icon in the left navigation bar to access the Uploader.
- In the 'Add Assets' step, either drag your screenshot onto the browser or click the 'Add Files' button and select your screenshot.
- Click 'Next' and add any relevant tags in the 'Tag Assets' step.
- In the 'Asset Details' step, add any additional information and set the permissions for your screenshot.
- Click 'Submit' to finish the upload process.

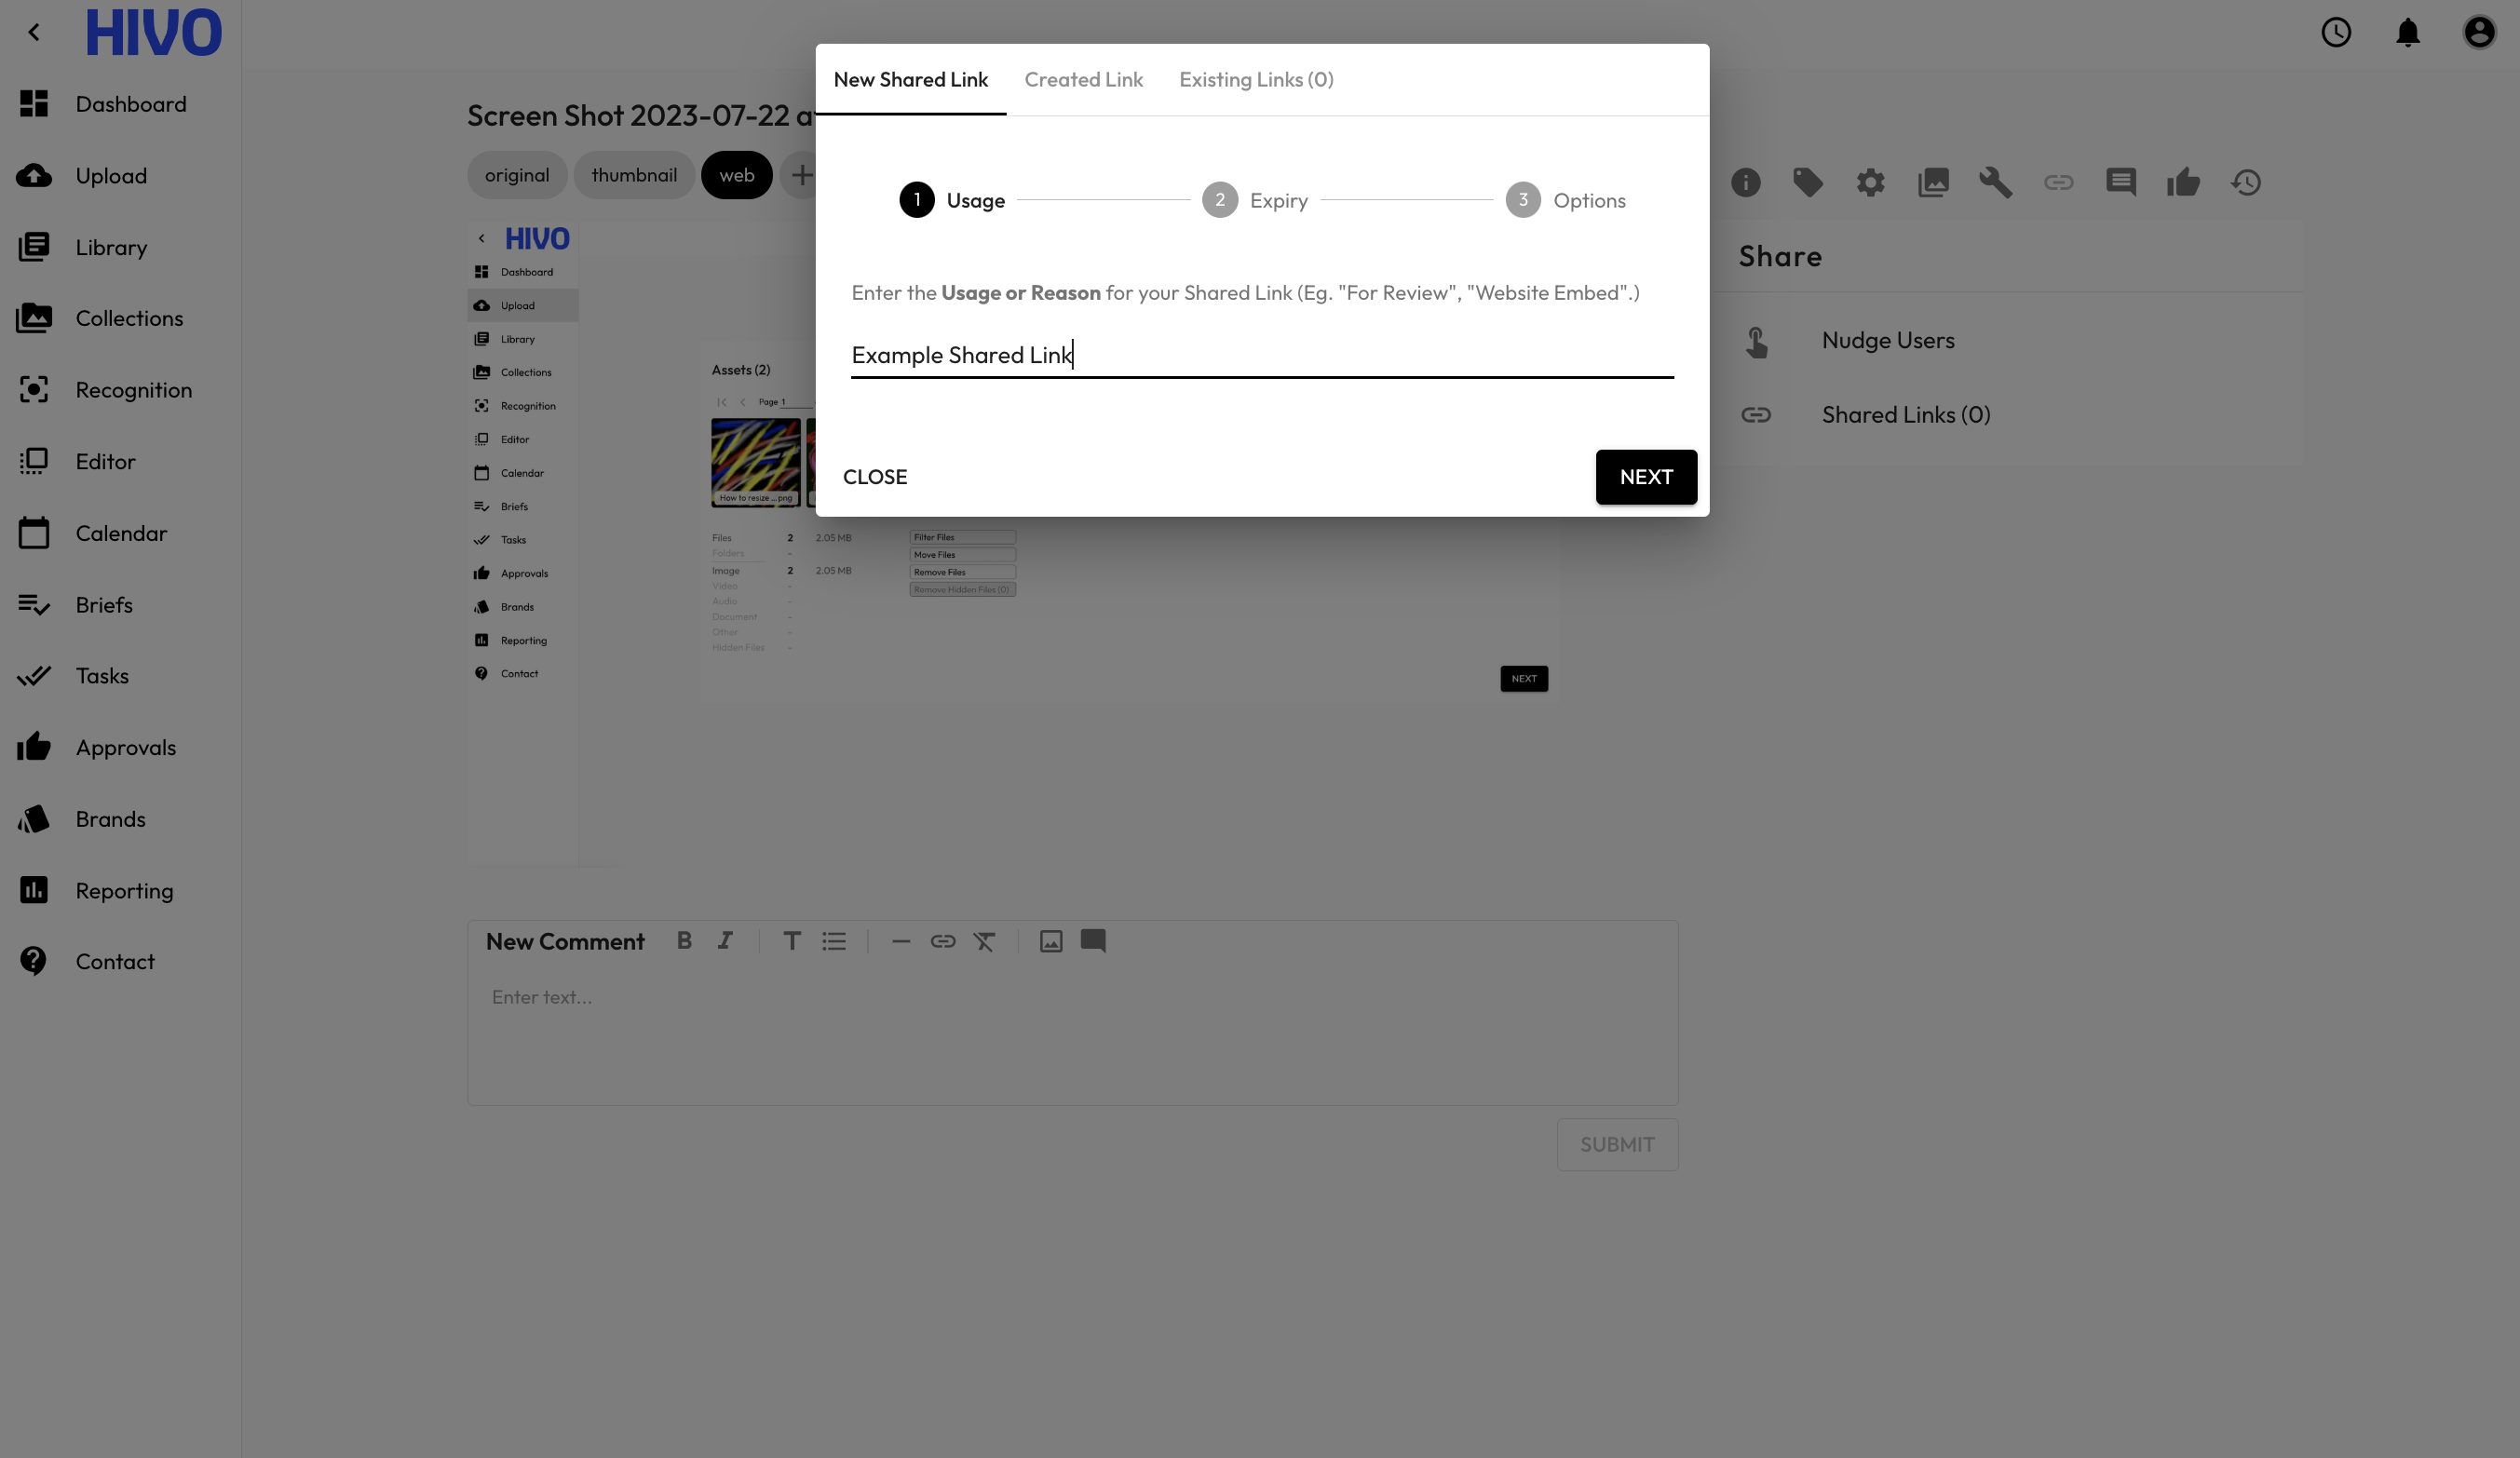
How to Create a Shared Link in HIVO
Once your screenshot is uploaded to HIVO, you can create a shared link to easily share it with others. Here's how:
- Navigate to the asset (your screenshot) in your HIVO account.
- Click on the asset to open its detail page.
- Click on the 'Share' button.
- In the pop-up window, adjust the settings for your shared link as needed (like setting an expiration date or requiring a password).
- Click 'Create Link'.
- Copy the generated link and share it with others as needed.
*Remember, to create shared links, you need to have the 'Can Share Assets' right in HIVO.
Conclusion
Taking a screenshot on a PC and sharing it through HIVO is a straightforward process. By following these steps, you can quickly capture and share information, making your digital communication more efficient and effective. Whether you're collaborating on a project, providing tech support, or sharing interesting findings, screenshots are a powerful tool in your digital toolbox.